Inventory
Overview
The Inventory module allows you to view the details of devices you discovered in Discovery. Probe into the details through various views such as IP Address View, Device View, Table View, and Hidden Devices.
Table View
To access the inventory, click Inventory in the navigation bar on the left. Its default view is the Table View, which shows extensive information on devices and applications in tabular format. You can view details such as Instance ID, Vendor, Device Type, Device Sub Type, Host Name, Domain Name, Virtual, IP Address List, FQDN, Model, Parents ID, Platform, Reachable/Unreachable List, Services, Serial Number, Version, and Last Update Time.
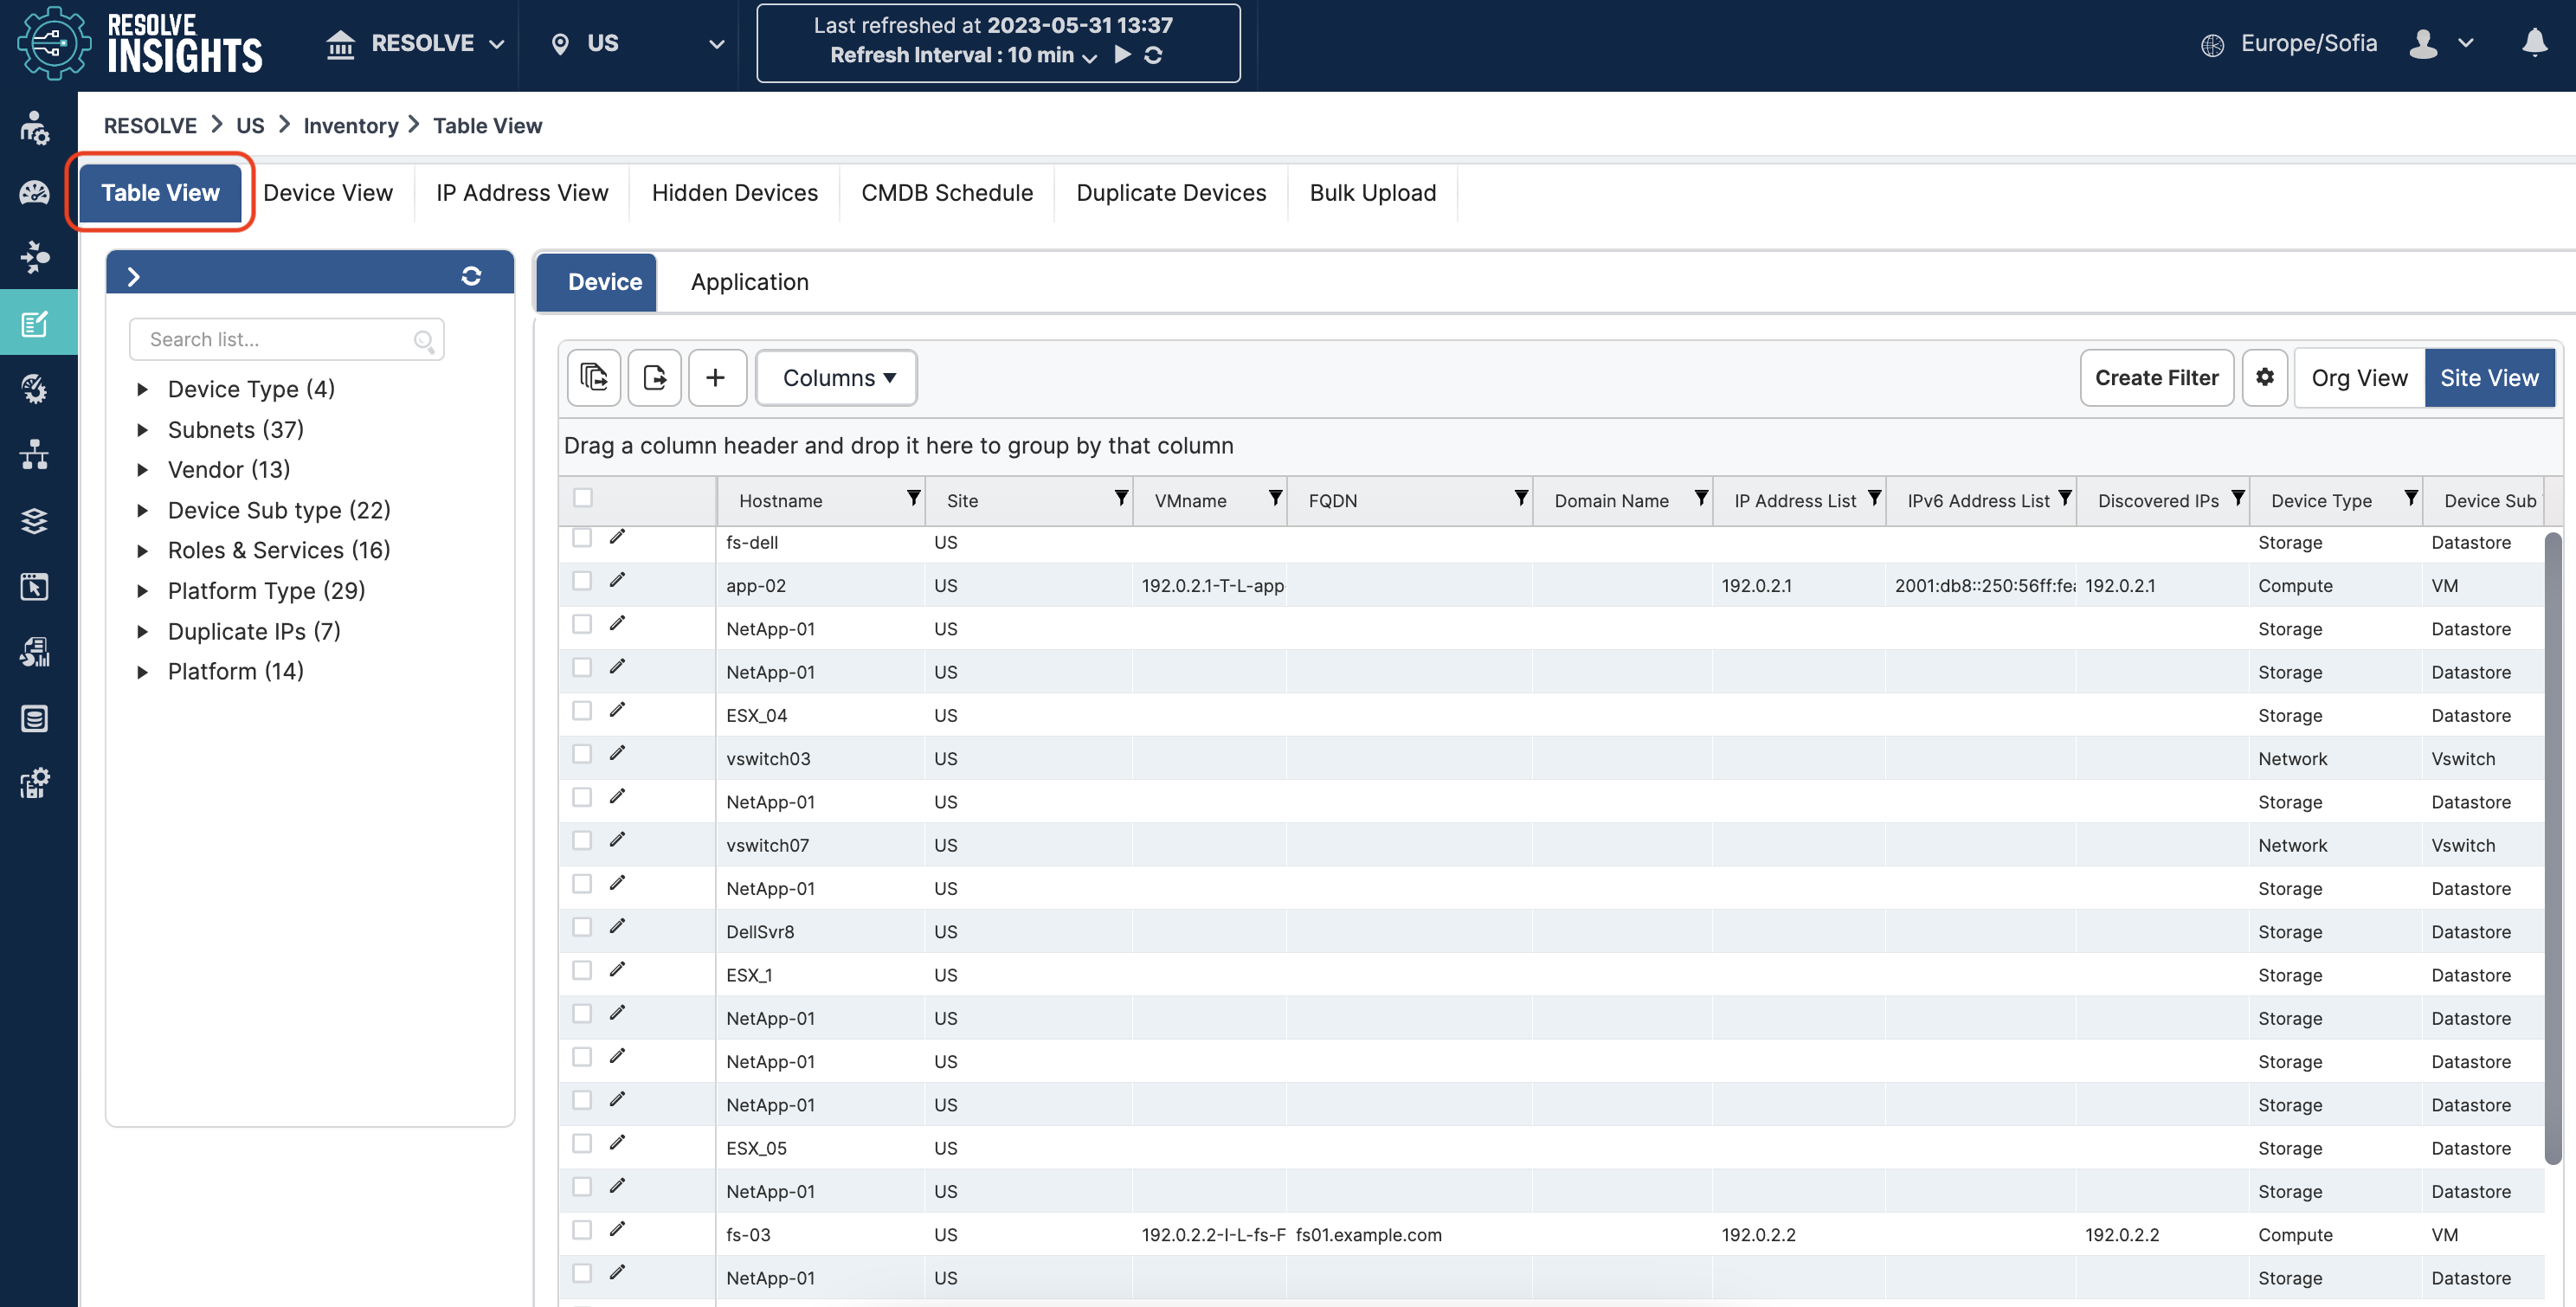
The Table View integrates two sub-views: Device and Application.
Device Sub-view
Switch to the Device tab to view individual devices with the ability to filter by type, sort by a number of properties, and search for individual devices by their properties. You can perform the following actions with a device after clicking the Settings (gear) icon:
- Add Column – Add a custom column to the table view.
- Add Notes – Add notes.
- Bulk Edit – Make the same changes across multiple fields.
- Edit Column – Change a column name or column details. Only applies to custom columns.
- Hide Device – Hide devices from the Resolve Insights UI views.
- Push to CMDB – Push the selected devices' data to your CMDB. This command automatically creates a schedule on the Inventory > CMDB Schedule tab. When pushing an application, all devices forming the application are pushed before pushing the application itself.
- Rediscover – Rediscover devices. Not all devices are individually rediscoverable. You will need to rediscover some device types through their parent (for example, you need to rediscover the hypervisor to automatically rediscover VMs and other virtual appliances running on it).
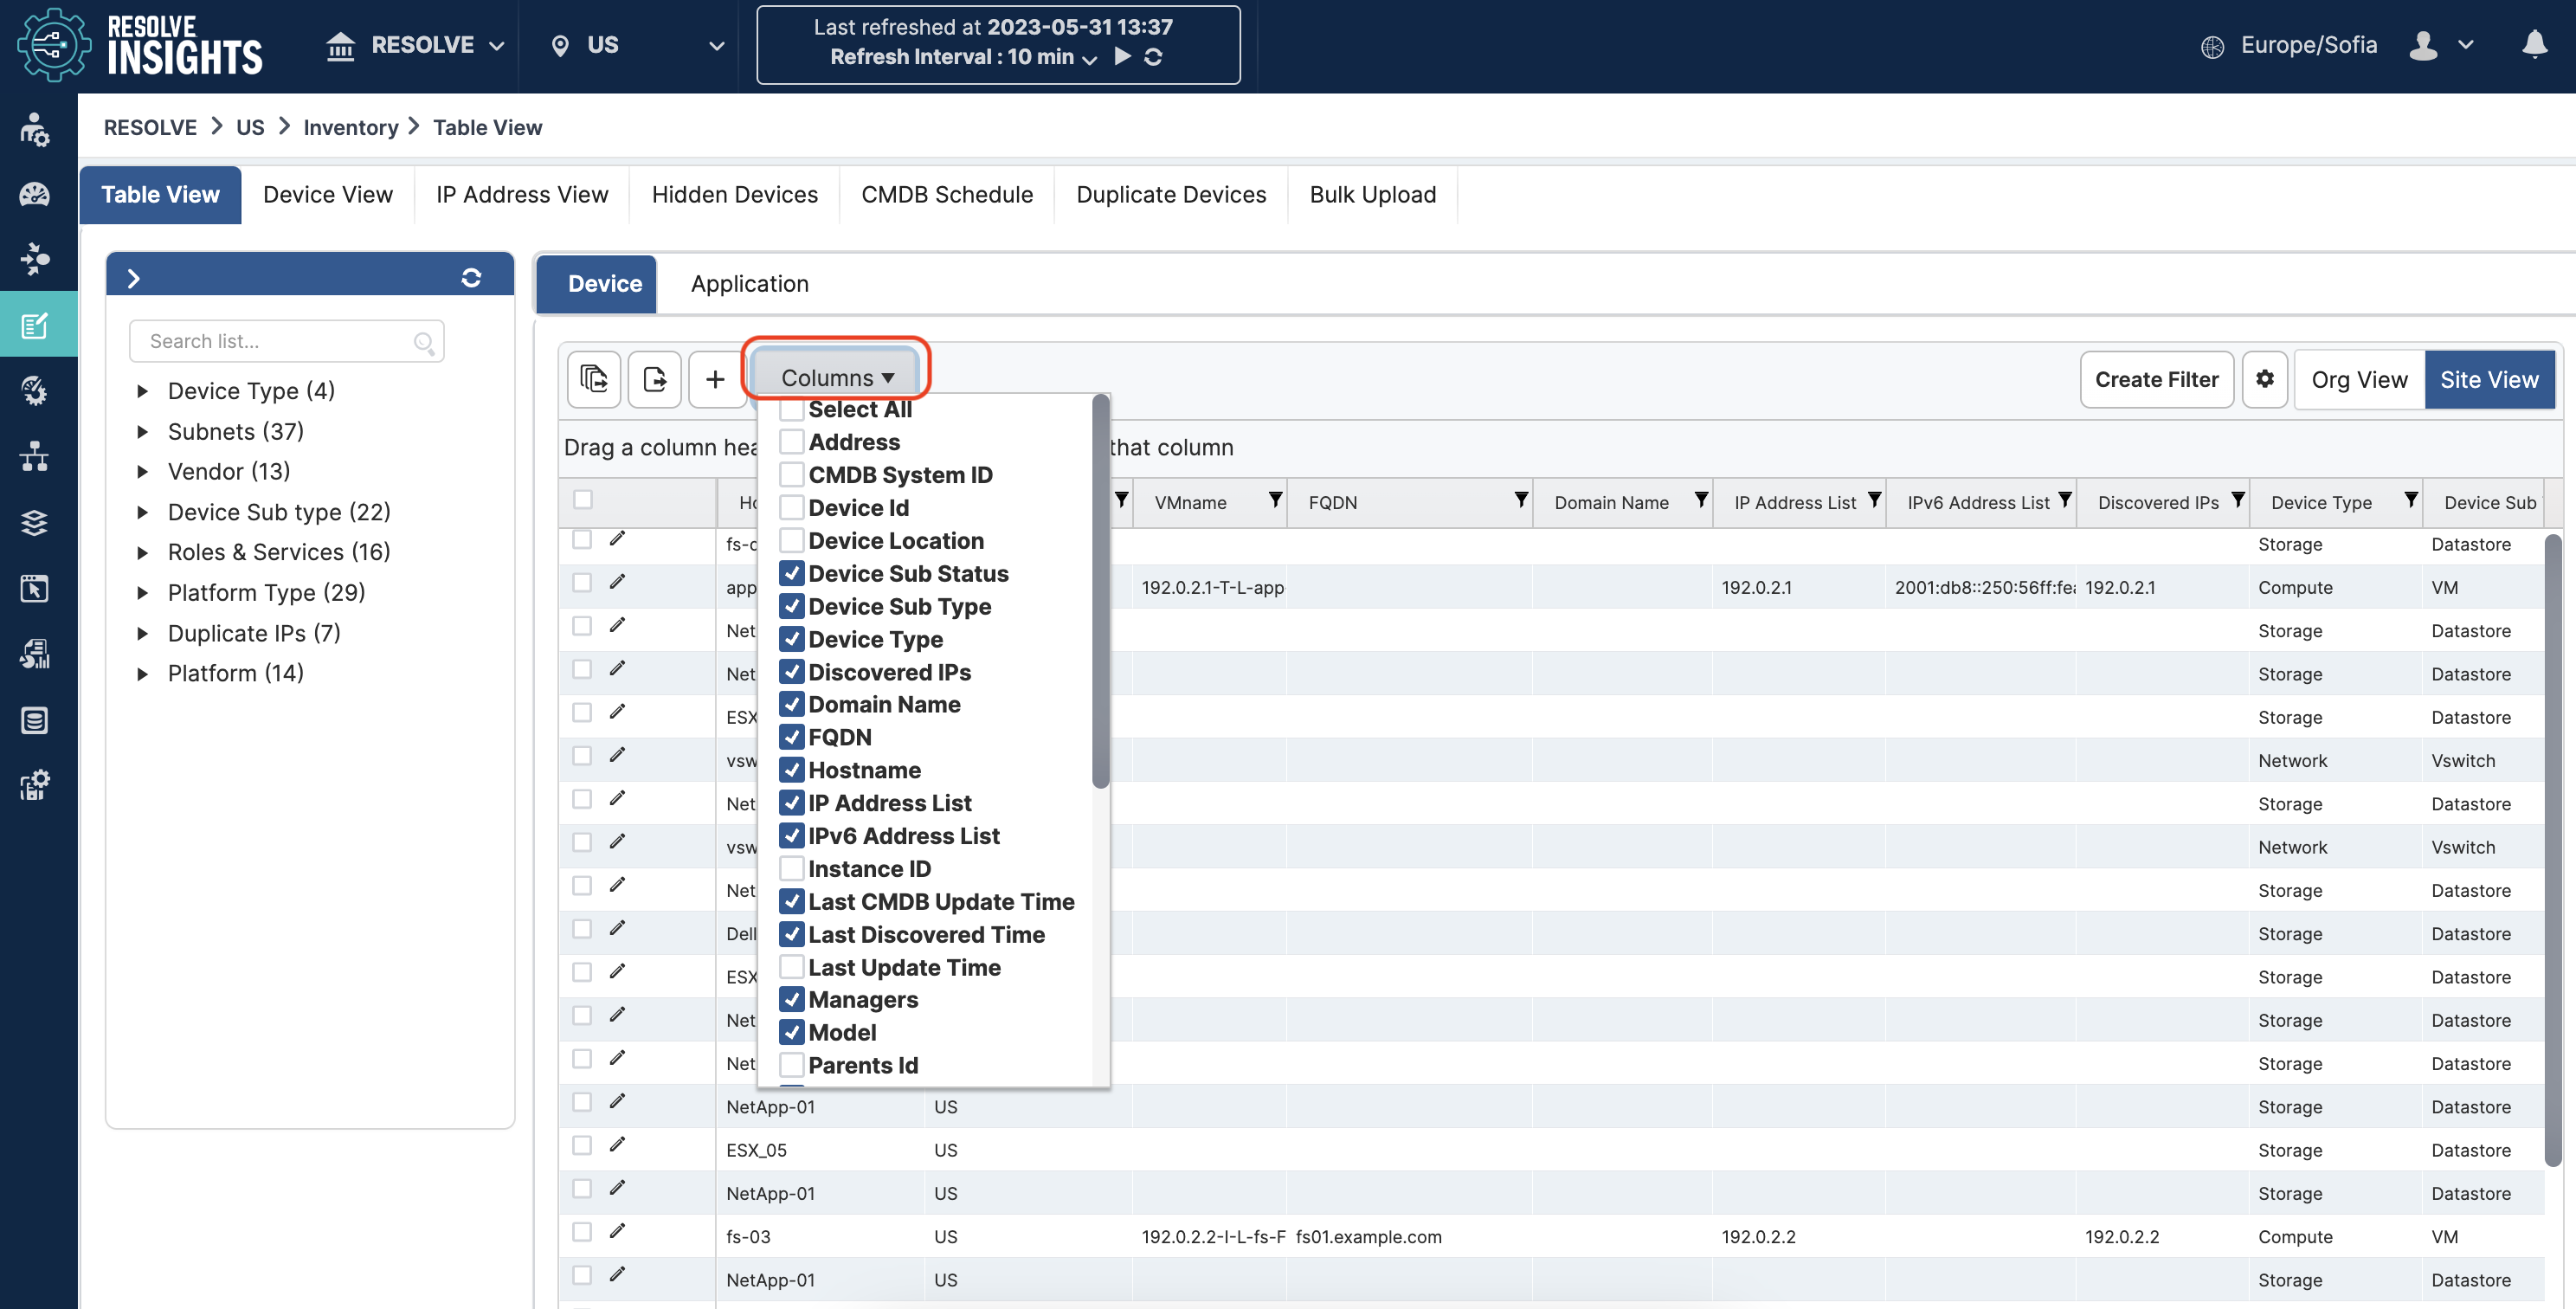
To add or remove columns to or from the view, use the Columns drop-down list. Check a box to add the respective column; uncheck it to remove the column.
To sort or filter the view:
- Use the Site View to view only devices from the currently selected site.
- Use the Org View to view all devices from all sites inside the organization.
- Use Create Filter to create a complex custom filter
Normally, the Device table will be populated with auto-discovered records. However, you can also add devices manually, which useful when the automatic discovery has failed to find a device.
Application Sub-view
Switch to the Application tab to view devices as combined in applications. You will see data on this tab only if you have defined any applications.
You can perform the following actions with a device after clicking the Settings (gear) icon:
- Push to CMDB - Push the selected devices' data to your CMDB. This command automatically creates a schedule on the Inventory > CMDB Schedule tab.
- Delete - Delete the application.
Grouping and Filtering Data
You can group the table data by some of its fields. For example, if you group the rows by Device Type, the list will show all Cloud Azure rows first, then all Compute rows, and so on with the rest of the device types: Network, Storage, and so on.
To group the data, drag and drop the column header for the field by which you want to group to the space labelled Drag a column header and drop it here to group by that column.
By default, the results are initially displayed in descending order. You can sort them in ascending or descending order by any column by clicking its column header.
You can customize the table to display the columns of your choice using the Columns drop-down list.
The following searching, filtering, and sorting options are available on both tabs:
- Use the left panel to filter for device type:
- Expand the list and select a type to only show that type.
- Use the search box at the top to find a device type in the panel list.
- In the right pane, clicking on a column header sorts the items alphabetically. Successive clicking alternates between ascending and descending order.
- Clicking the funnel button at the right end of a column header opens filter options that allow searching for a particular device.
- To filter the items or search for a device, enter the search criteria in part or in full in the text box and click Filter.
- To display all the items again, remove/deselect the search key from the filter and click Clear.
- By default, Insights returns 25 results per page when you perform a search. To increase the number of results displayed per page up to 500, click the arrow next to Items per page drop-down.
Filtering by Device Group and Category
You can also filter by device Group and Category and visualize only the inventory of a specific device group or category. A device group is a number of devices grouped together in accordance with your specific business needs. Device groups can in turn be combined into device group categories for an even more detailed overview of your system.
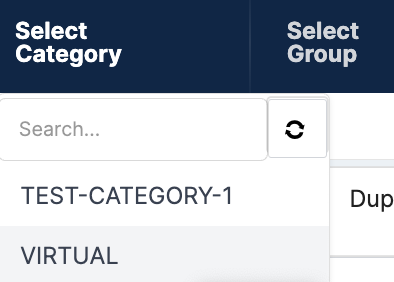
To filter by device group or category, in the upper Main Menu bar, hover your mouse pointer over Select Group or Select Category and click the one by which you want to filter.

For example, if you select a specific category, the view will only show information about the devices included in the device groups associated with this category, in this case "Virtual".
To return to viewing all devices again, go to another Insights view, such as Topology, and then return to Inventory.
The filters are only visible if there are existing Device Groups and Categories in your Insights instance.
The Device Groups and Categories drop-down lists are independent. Device Groups always lists all existing groups regardless of your selection in Categories.
You can only filter by one category or one group at a time. If a category is selected and you then select a group, the category filter will be cleared and the results will be filtered by the selected group, and vice versa.
Exporting Inventory Data
You can export the device information into a CSV file. You can export page by page clicking the Export current page toolbar icon or all pages at once clicking the Export all pages toolbar icon.
Device View
The Device View is based on the device roles. It shows the device count under each device type, including the device count in subtypes.
Clicking a device type takes you to the Inventory table view where you can explore more information about the included devices.
The Device View includes a pair of sub-views: All Devices and Billable Devices, shown on separate tabs. Click the Billable Devices tab to view a subset of device types relating to licensed devices.
Address View
The IP Address View shows a grid view of your discovered devices.
Hovering over any device reveals basic information of the device such as IP address, Host Name, Vendor, Model, Platform, and Services running on it. You can view extended information after clicking the device.
Use the left panel to filter for device types:
- Expand the list and select a type to only show that type.
- Use the search box at the top to find a device type in the panel list.
Hiding a Device
You can hide a discovered device. Hidden devices don't appear anywhere on the Insights interface, with the following exceptions:
- On the Inventory > Hidden Devices tab - This is where you can come to unhide devices.
- When performing search on Device Group > Manage Group - All discovered devices appear here, including hidden devices, and you can include them in a group. Despite being part of the group, however, the hidden device doesn’t appear on the UI unless you unhide it.
Take these steps to hide a device:
- Navigate to Inventory > Table View.
- Select one or more devices in the table and from the Settings (gear icon) menu, select Hide Device.
- In the dialog box that appears, review the list of devices is as intended and then click Hide Devices.
- Confirm the action. You can view a list of the hidden devices on the Inventory > Hidden Devices tab.
You can also hide a device from other Insights screens where the action is available on the device's context menu.
Take these steps to unhide a device:
- Navigate to Inventory > Hidden Devices.
- In the table, select one or more devices and then click Unhide Device.
- In the dialog box that appears, review the list of devices is as intended and then click Unhide Devices.
- Confirm the action.
The devices appear everywhere on the Insights interface.
Managing Duplicate Devices
During discovery, some devices may appear with similar set of details like identical hostnames, identical lists of IP addresses, and so on. The Duplicate Devices tab of the Inventory can help you identify device duplicates.
By default, the tab shows a list of devices with duplicated IP addresses. The Common Data Points filter at the top allows you to search for duplicated devices based on other criteria as well: Hostname, Serial Number, IP Address/es, or a combination of those.
Similarly to other Inventory table views, you can apply filters on the table columns or switch between Site View (to see the data only for the currently selected site) or Org View (to see data from all sites inside the organization).
Selecting a row and clicking Hide Device/s allows you to hide duplicate devices so that they will not appear throughout the Insights UI anymore.
Adding Devices Manually
If the discovery process has failed to find one or more of your devices, you can add them manually in the Inventory.
You can add devices one at a time from the Table View > Device tab, which is suitable for small numbers of missing devices.
If you need to add a larger number of records, a better choice would be the bulk upload option.
Keep the following in mind when adding devices manually:
- All other Insights fields that are available in the Inventory table view are available to fill in by the user for the new record.
- You are responsible for keeping the Inventory record up to date if the device's parameters change.
- Pushing the device information to CMDB follows your ITSM settings like any other Inventory record.
- Similarly to other Inventory records, you can't delete a manual record after creating it, but you can hide it.
Adding Single Devices Manually
Take these steps to add a single device in the Inventory:
- Go to Inventory > Table View > Device.
- Click the Plus sign (+) above the table.
A new empty row appears in the table. - Fill in the fields that describe the device.
The required fields include:- Hostname
- IP Address List
- Device Type
- Device Sub Type
- Click Update to confirm the data.
Adding Multiple Devices Manually
If you need to add a larger number of records, you can use a CSV file import or enter the device information directly in the Insights UI.
Take these steps to add devices in bulk through a CSV import:
- Go to Inventory > Bulk Upload.
- Click Export CSV Template above the table.
- Open the CSV file for editing with you preferred plain-text editor.
- Create a line for every device that you want to import, adhering to the CSV structure.
The required fields include:- Hostname
- IP Address List or IPv6 Address List
- Device Type
- Device Sub Typenote
Always include the optional fields even if they have an empty value.
- Click Import CSV File above the table to import the completed file in Insights.
- Click Submit above the table to save the data in the Inventory table. The data is verified and sent to the Insights database for storing if correct.
If you don't want to create a CSV file, you can enter the device information directly using the Insights UI.
Take these steps to add devices in bulk through the Insights UI:
- Go to Inventory > Bulk Upload. The table already contains a few empty rows for you to fill in.
- Use Insert Row (+) to add extra rows to the table if you need any.
- Open the CSV file for editing with you preferred plain-text editor.
- In each row, fill in the data of a single device that you want to add.
The required fields include:- Hostname
- IP Address List or IPv6 Address List
- Device Type
- Device Sub Type
- After entering the data for all devices that you want to add, click Submit. The data is verified and sent to the Insights database for storing if correct.